Showing posts with label Favorite Recipes. Show all posts

Saturday, August 16, 2014

Pistachio Macarons

No comments:
Pistachio Macarons
Home Cooking


Following the success of my French chocolate macarons, I became overconfident and assumed I could just whip them up without thinking. This lead to at least 3 sloppy batches and many dollars worth of wasted almond meal and icing sugar. I was wailing about my domestic failings to Jenny when she put me in my place. Macarons are NOT to be simply 'whipped up'. They are temperamental. They require planning and precision.


I don't know if the chocolate ones were just a fluke or if it was indeed an easier recipe to get right but I didn't want to take any more chances when it came to other flavours. My goal was to bake the perfect pistachio macaron and when I accidentally purchased $25 of pistachios, it became even more critical that I didn't screw this lot up.

Tuesday, January 21, 2014

Caramel Cookie Slice

No comments:
Caramel Cookie Slice
Home Cooking 


I would be in no way exaggerating if I said that I've done more cooking in the past few months than I have in all of 2014. That's the Christmas period for you. Not that I'm complaining. Unlike people who have to cook for a household out of necessity, I only do it when I find a recipe I want to create. Cooking is a only a hobby on the side for me and because of that, I thoroughly enjoy it. I know that if it became a daily chore, the novelty would grow old fast.


Marc's workplace had a Christmas morning tea a while back so I was given the task of baking a contribution. I shuffled some mad scientist creations in my head (rum and raisin slice with coffee buttercream frosting was tossed up at one point) but ended up going with something easy and safe. I found this recipe for caramel cookie slice in Nick Malgieri's "The Modern Baker" one of my favourite, most used cookbooks of all time. Unlike some of the adventurous recipes in the book, this seemed exceptionally easy.

Sunday, August 12, 2012

Basic Plain Scones

No comments:
Basic Plain Scones
Home Cooking


Plain scones may seem like a lacklustre restart to my home cooking campaign. I was surprised to see that I hadn't already blogged a recipe for plain scones. I've done PLENTY of variety scones, including date scones, pumpkin scones, even cherry almond scones. But no recipe for a garden variety plain scone. I tried Nigella's recipe using shortening, and hated it. The quest for a go-to recipe resumed.


I think the problem is, I used to make scones a lot but simply by feel. You're welcome to do that of course, but for those who feel reassured by measured quantities, here's a reliable and easy recipe.

I credit this recipe to Woman's Weekly Bake, which is fast becoming my encyclopaedia of baking. I halved the recipe from the book, which was supposed to make 20 scones. I ended up with 12 smallish scones. I like keeping them petite because it's harder to overeat and regret it later.

Basic Plain Scones
Makes 10-12 (depending on size)

Ingredients:
  • 2 cups (300g) self-raising flour
  • 1 tbsp icing sugar (can be substituted with regular white sugar)
  • 30g butter, chopped coarsely
  • 3/4 cup (185ml) milk
  • 1/3 cup (90ml) water
Procedure:

1. Preheat the oven to 220 degrees Celsius. Grease a rectangular tin.
2. Sift the flour and sugar together into a large bowl. Rub the butter in with your fingertips.
3. Make a well into the centre of the flour mixture. Add the water and almost all the milk. Use a knife to 'cut' the milk and water through the flour, mixing it into a soft, sticky dough.
4. Knead the dough on a floured surface until smooth (you don't need to knead it excessively, just until it comes together).
5. Press the dough out to about 2cm thickness.
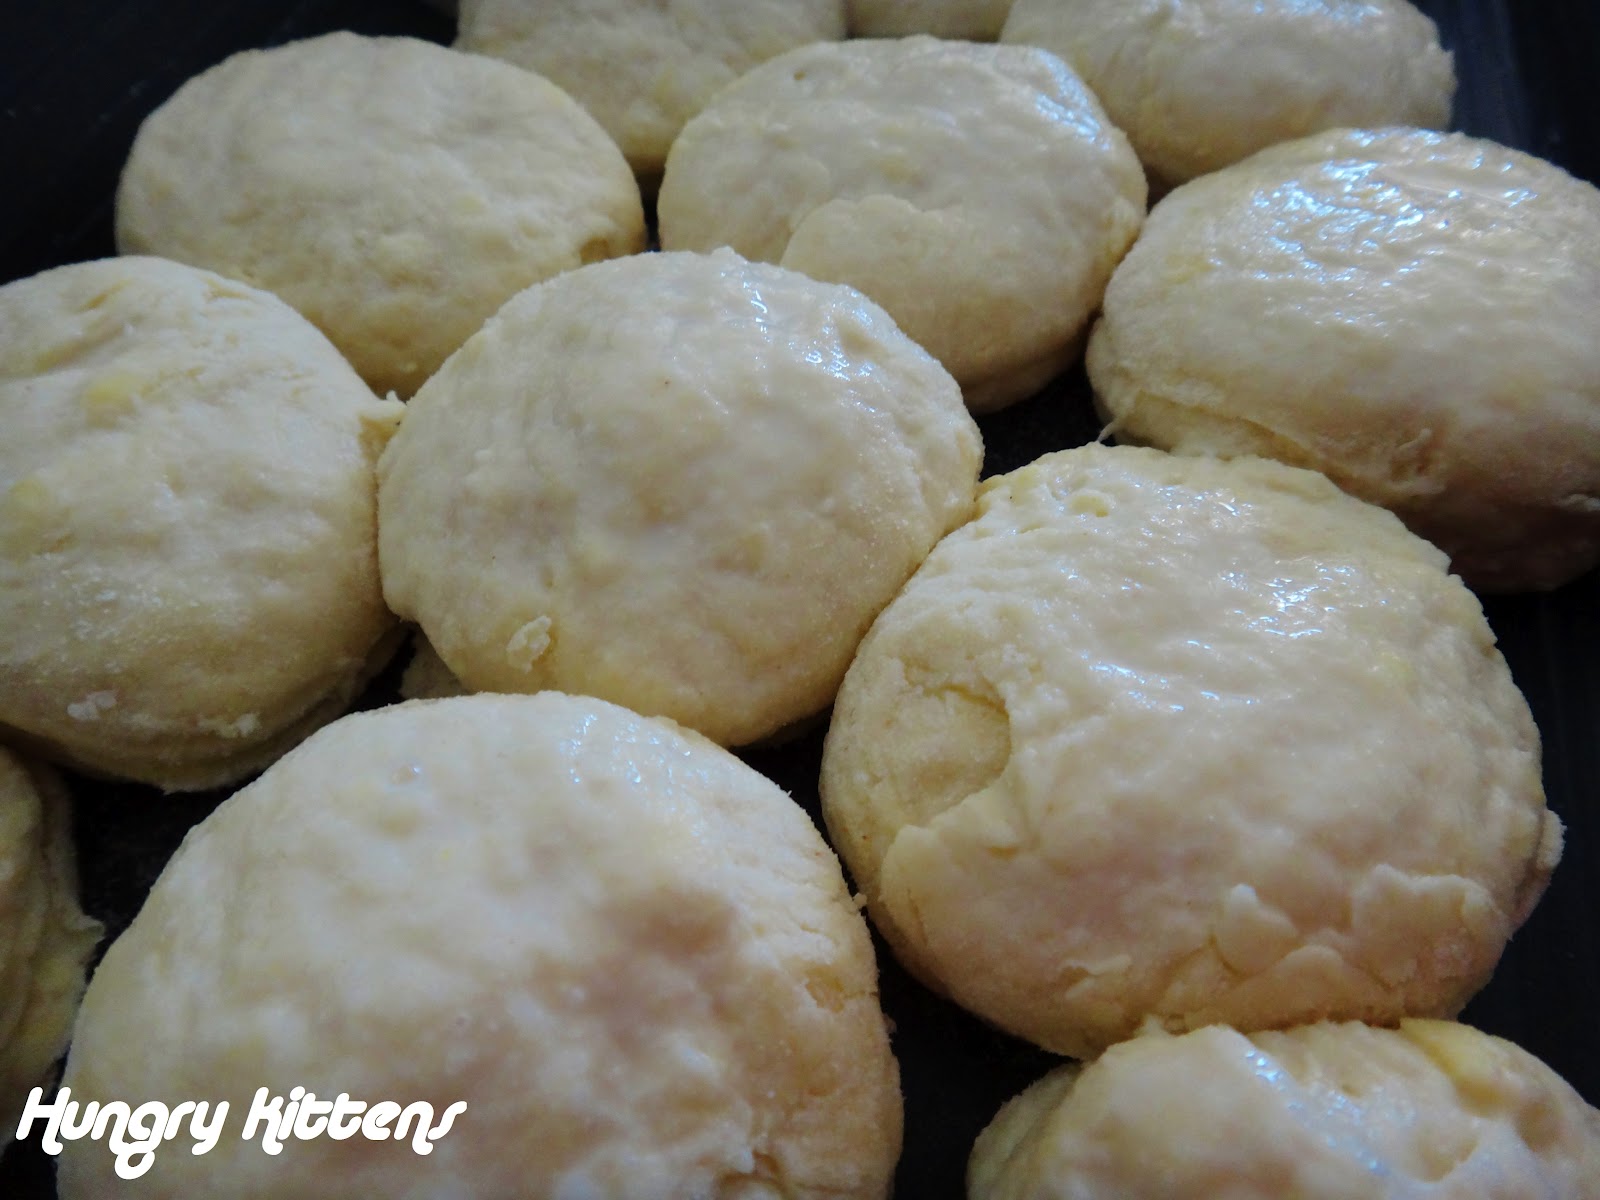
6. Dip a 4.5cm round cutter into flour and cut as many rounds as you can from the piece of dough. Place the scones side by side, just touching, in the greased pan. Scrape together the remaining dough and repeat the pressing and cutting to produce more scones. Place in the same pan and brush the tops with the extra milk.
7. Bake the scones for about 15 minutes or until just browned and the scones sound hollow when tapped firmly with fingers.


It's hard to find a go-to recipe for basics and classics. With regards to scones, there are all kinds of variations with cream, soda water and so on. I'm going to forget all that. This recipe worked perfectly for me. It was easy to follow and milk and butter is something I always have in my pantry, whereas cream and lemonade are items I'd have to purchase especially.

Close-up texture shot

The scones were exactly as they should be. I had a couple whilst still hot and when pulled apart, a little puff of steam came out. Adorable. The texture is flight with just the right amount of doughiness that makes a scone, well a scone, rather than a breadroll.


I had these with cream and homemade strawberry and apple jam (recipe to come). There is no going past this winning combination. Some things don't require alteration and scones with jam and cream is one such example of a match made in heaven.

Friday, August 10, 2012

Momofuku's Compost Cookies

2 comments:
Compost Cookies
Home Cooking


I saw mentioned in Masterchef Magazine a cookbook called 'Momofuku Milk Bar' by Christina Tosi. The article referenced a couple of her notoriously unusual dessert concoctions, including something called the compost cookie.


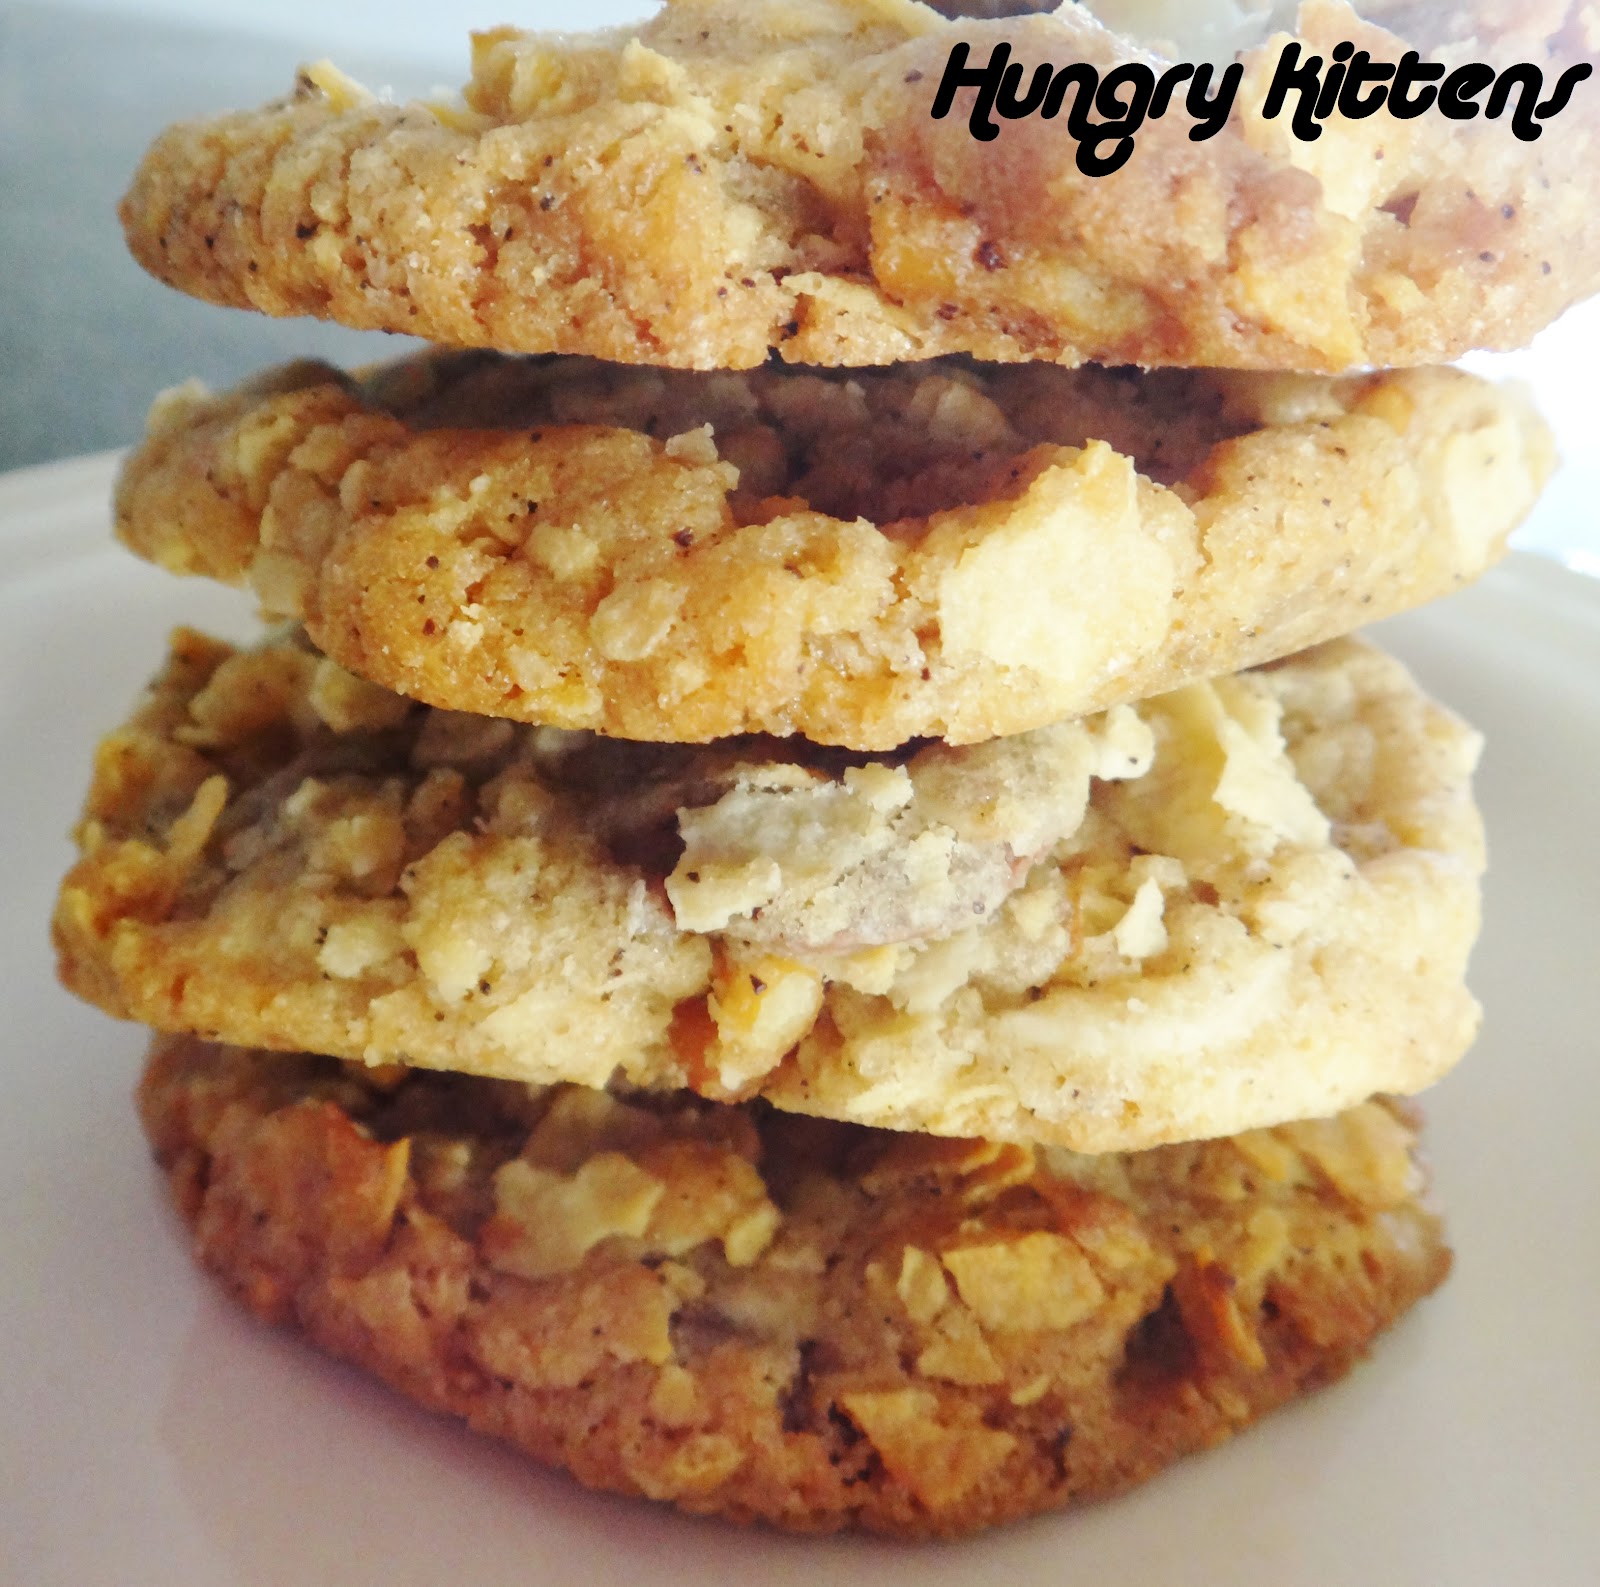
The name on its own doesn't sound very appealing. In fact, after I baked a batch, I told a friend what I'd made and he said "I don't want to eat it because it's called a compost cookie". From that point onwards, whenever I was handing out cookies for people to try, I avoided referring to them as that in fear of a similar reaction. My preferred description for these cookies is: "Anzac biscuits on steroids", because in a way, that's what they are.


Close-up showing the crazy composition. Intrigued...?

I've always been attracted to the collaboration of opposing tastes. Sweetness in savory dishes and saltiness in desserts... if I read those kinds of descriptions on a menu, I'm inclined to order that dish. It seems to be the current trend in cooking anyway, although I know not everyone shares my opinion.

When I read that the compost cookies were made with potato chips and pretzels, I practically scrambled to look the recipe up. There are a few sources online but I went with the recipe listed on Oprah's website because that seemed the most credible.

I won't pretend to be a health fanatic... after all, I am writing about a cookie recipe (that also happens to have just about every 'naughty' snack in it), but my pantry and fridge is generally a NO SNACK ZONE. I don't buy chips, biscuits, crackers, chocolate bars or anything like that because a) I need to use my 'bad food' quota on dining out and home cooking and b) I have the worst self-control when it comes to snacking.


Consequently, I had to buy all the snacks that go into this cookie dough. The theory is that you can use whatever left over party snacks you have at home and just incorporate it into the base mixture. You do have to be mindful of the wetness and fat content of whatever you use because it may alter the dough chemistry and lead to, I don't know, explosions. Or something. Basically, if you use too much of something gooey the cookies may come out too gooey. Since I was buying all my snack ingredients, I took the safe route and purchased according to the original recipe. I still made some slight variations though.


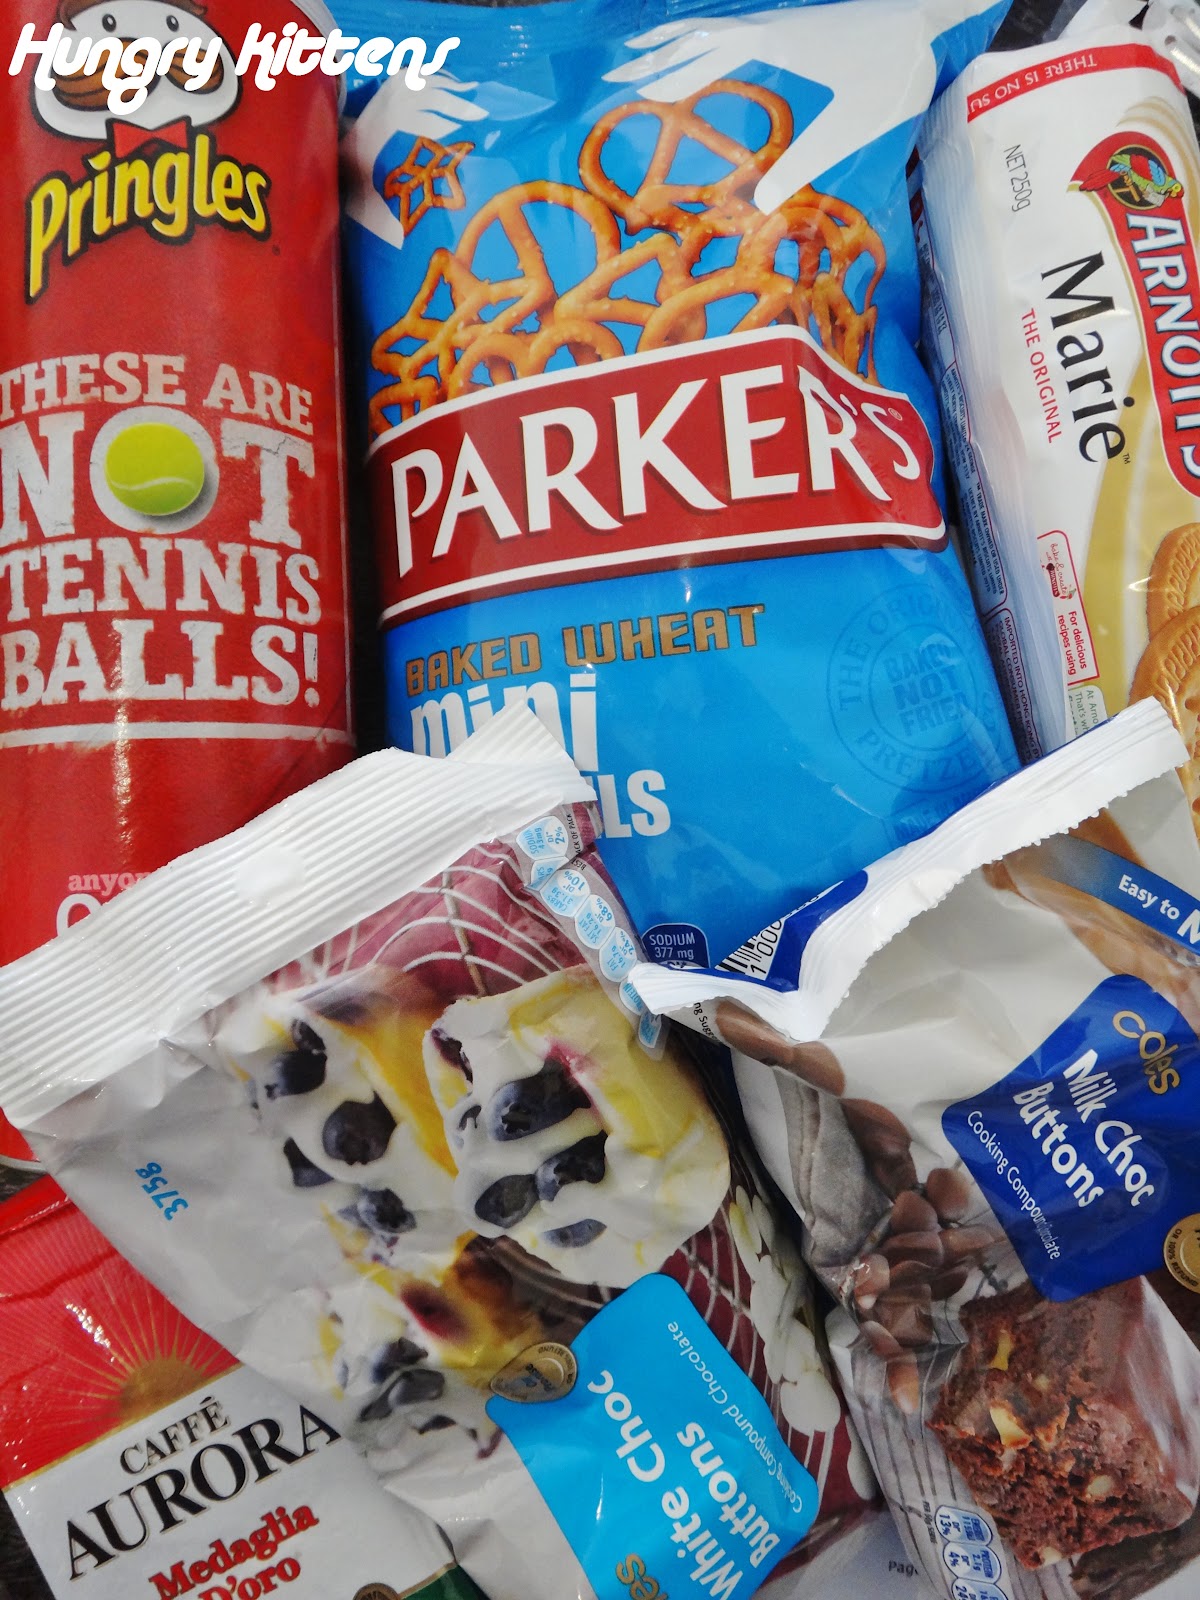
For one, I didn't want to spend $5 on a bottle of 'glucose' so I substituted with golden syrup. I couldn't find butterscotch chips (I don't even know if they exist in Australia) so I used white chocolate chips instead. There weren't any Graham crackers either (another USA thing?) so I Googled an alternative and read that Arnott's Marie biscuits are the best subsitute. Thicker chips were recommended so I went with plain Pringles. Don't get a flavored one please. I'm liberal enough to accept salted potato in a cookie form but I don't have confidence in combinations of Texan BBQ Chicken with chocolate. Or anything with onion. Ew...

This recipe is a bit annoying to follow for a couple of reasons. The cookie dough has to be refrigerated for at least an hour. They can't be baked fresh after mixing and spooning. This is a problem if you have a small fridge like mine. I had to do a lot of reshuffling. The other thing is that the cookie blobs need to be spaced 4 inches apart. That's over 8cm in metric! I had to bake the cookies in 3 batches because I could only put 3 on each small tray and 6 on the larger tray.

Despite all that, I actually do think the end result is worth it. If I haven't just completely discouraged you, please read the recipe below and my verdict at the end.

Momofuku's Compost Cookies
Makes 15-20 cookies

Ingredients:
  • 225g butter, at room temperature
  • 200g (1 cup) granulated sugar
  • 150g (2/3 cup, tightly packed) light brown sugar
  • 50g (2 tbsp) glucose (I used golden syrup; corn syrup is fine too)
  • 1 egg
  • 1/2 tsp vanilla extract
  • 225g (1 and 1/3 cup) plain flour
  • 1/2 tsp baking powder
  • 1/4 tsp baking soda
  • 1 tsp salt
  • 150g (3/4 cup) mini chocolate chips
  • 100g (1/2 cup) mini butterscotch chips (I used white chocolate chips)
  • 85g (1/2 cup) crushed Graham crackers (I used Arnotts Marie biscuits)
  • 40g (1/3 cup) rolled oats (not instant oats)
  • 5g (2 and 1/2 tsp) ground coffee (do NOT use instant coffee)
  • 50g (2 cups) crushed potato chips (not too crushed; chip chunks are good)
  • 50g (1 cup) mini pretzels
Procedure:

1. Combine the butter, white sugar, brown sugar and glucose (or syrup) in the bowl of a stand mixer and cream together on medium-high for about 2-3 minutes.
2. Scrape down the sides of the bowl and add the egg and vanilla. Beat for 7-8 minutes.
3. Reduce the speed to low and add the flour, baking powder, baking soda and salt. Mix until the dough just comes together, no longer than 1 minute (use a paddle attachment on your stand mixer for this part, if you have one. I didn't so I was just extra careful). Do NOT over-mix the dough. Scrape down the sides of the bowl with a spatula.
4. The recipe suggests adding the choc chips and coffee, and then the chips and pretzels in the stand mixer all on a low setting, but I didn't want to risk it since I didn't have a paddle attachment. I unclipped the bowl and folded in the choc chips and coffee until just combined. Then, I did the same with the chips and pretzels, taking care not to over-mix or break up the snacks too much.
5. Use a 1/3 cup to scoop out portions of dough and place on baking paper lined trays. Press them down gently to flatten. Cover the trays with clingwrap and refrigerate for at LEAST one hour. They can stay refrigerated for up to a week. The recipe stresses that the cookies must not be baked from room temperature.
Pre-flattening

6. Once the cookies are cooled enough to be baked, preheat the oven to 190 degrees Celsius.
7. Arranged the chilled cookie dough on a baking paper lined tray (or silicone sheet) at least 4 inches apart.
8. Bake for 18 minutes. The cookies will morph and spread out as they bake. After 18 minutes they should be golden on the edges but still bright yellow in the centre.
9. Cool the cookies completely in the tray before moving them (trust me; even if you're tempted, don't do it because they'll be soft and fall to pieces).
10. Store the cookies in an airtight container. At room temperature, they'll keep for 5 days. In the freezer they'll keep for a month.


Phew. That has to be one of the longest recipes I've written out in a while, both in terms of the ingredients list and procedure. I maintain that it was worth the effort though!

I loved watching the cookies in the oven as they bloomed out from tightly rolled balls of dough into big explosions of sweet and savory goodness. It was quite the spectacle.


Wait for the cookies to cool completely before eating. I was tempted to try a bit while they were still warm and even though the melty chocolate is a plus, I liked them better crunchy the next day. The chips are surprisingly low key. I asked a couple of people to guess what was inside and pretzels were mentioned (maybe because you can literally see them) but noone suspected potato chips. They definitely contribute to the savory aspect of the cookie though, which I think is not only the whole point of this recipe but also critical in balancing out the 3 types of sweetners that went into the dough. The chips, pretzels and Marie biscuits also lended a textural complexity to the cookie that I haven't experienced before. I mean, cookies are normally crunchy or soft with the occasionly gooey thrown in. These had a crunchy and chewy base with bursts of variation via the assortment of snacks snuck into the batter.

Delicious pretzely bite

I think the compost cookie is a strange concept to get your head around but it really does work. I took these to work because there's no way I can or should finish a whole batch on my own. I was worried the strange appearance would result in a poor reception, but the box was empty by the end of the day. Always a good sign!

I'm not just chuffed about this recipe because I'm an advocate of the weird and interesting. Throwing savory snacks into a sweet cookie batter is a great way of introducing new flavors and textures, and will be a resourceful way of using up the dregs of party snack bowls.

Thursday, July 26, 2012

Julia's Melting Moments to Commemorate the Masterchef Finale

5 comments:
Julia's Melting Moments
Home Cooking


It's been a million years since I've put up a cooking post. It's not that I'm trying to focus this blog on restaurant reviews. The fact is, I just don't cook that much! As someone who works full time and lives alone, I can't be smucked whipping up fancy creations on a daily basis. My normal routine comprises of mixing things together and eating it as a salad. In these colder months, I take it up a notch by incorporating the microwave or toaster. Occasionally, the stove top is utilized for cooking oats.


That aside, cooking is more than just a stomach-filling task. Baking, in particular, used to be a source of great joy to me. Baking is therapeutic and rewarding and it's something that I had been meaning to get back into. I'd gone for so long without doning my baking cap that I was short on just about every necessary ingredient imaginable. It took a lot of expensive restocking to get the pantry right again. Then, I had to buy some new trays and an electric scale, since my old ones had gone missing when I moved house.


Finally, when all those tasks were complete, I was ready to bake again.

The recipe I chose to reinitiate myself with was one that sparked my interest the moment I saw it. I had been watching every episode of this season's Masterchef religiously. For those who have done the same, you'll be familiar with Julia (aka 'the Dessert Queen', as they like to remind us every time her name is mentioned) and her signature melting moments. I drooled at my screen when I saw them first presented and eagerly Googled the recipe the next day. Praise the lord it was published on the website and remarkably, didn't seem too difficult to follow either. Plus, what better way is there to mark the end of the season?

I followed the recipe from the Masterchef website. I made my biscuits much smaller (about 24 in total for 12 sandwiched end products). I definitely recommend doing this because they are so incredibly rich that any bigger and you'll find people choking in gluttinous enjoyment. I also didn't have any vanilla bean paste so I used vanilla bean extract in the frosting. I recommend making the jam beforehand because it takes a while to cool down and set. By the way, you get a lot more jam than is needed so start brainstorming ways to use jam.

Julia's Melting Moments
Makes 12 sandwiched biscuits

Ingredients:

For the biscuits
  • 180g unsalted butter, softened
  • 60g icing sugar, sifted
  • 60g custard powder, sifted
  • 1 tsp baking powder
  • 180g plain flour, sifted
  • icing sugar, to serve
For the raspberry jam
  • 250g fresh or frozen raspberries (I used frozen)
  • 250g caster sugar
  • juice of 1/2 a lemon
  • 1/2 tsp gelatine powder
For the vanilla buttercream
  • 100g butter, softened
  • 2 tsp vanilla bean paste (I used the same amount of vanilla extract)
  • 1 cup icing sugar, sifted
Procedure:

1. To make the biscuits, first preheat the oven to 180 degrees Celcius. Line a couple of cookie trays with baking paper.
2. In a stand mixer, cream the butter for 2 minutes. Add the icing sugar and custard powder and mix until combined.
3. Add sifted flour and baking powder to the butter mixture and mix well to form a dough.
4. Roll out 1 tsp of dough into small balls and place on the tray about 2 inches apart.
5. Gently press a fork into the top of each ball to flatten slightly.
6. Bake for 16-18 minutes until just golden.
7. Rest in the trays for 5min before turning out onto the wire racks to cool completely.
8. To make the jam, place the raspberries, sugar and lemon juice in a saucepan and simmer on medium heat for about 20-25min until the mixture thickens.
9. Dissolve the gelatin in 1 tbsp of water. Remove the jam mixture from the heat and stir through the gelatin.
10. Cool the jam in the fridge before use.
11. To make the buttercream, whisk the butter and vanilla and a standmixer until smooth. Gradually add the icing sugar and mix until it forms the consistency of thick icing. Transfer the mixture into a piping bag with a star nozzle.
12. To assemble the biscuits, pipe a circle of buttercream on one biscuit. Spread a thin layer of jam on another. Place the half with the buttercream ontop of the half with jam. Repeat for the rest of the biscuits.
13. You may dust with icing sugar before serving.

Overall, this recipe was simple to follow. I've made melting moments before and eaten plenty in my time but these were just so rediculously soft and short... exactly what they claim to be.


This was the first time I have ever made jam. It was fairly easy! I now have an excess of raspberry jam that I'm not sure what to do with. Scones next week I think. I've read comments online saying the jam is uneccessary and can be omitted. I disagree! I think that the butteriness of the biscuit and the butteriness of the frosting is overwhelming when paired. The tart, sticky jam is EXACTLY what the ensemble needs to bring it from 'tasty but cloying' to 'perfection in a biscuit'

Close-up

The step I found most difficult was piping the buttercream onto the biscuit. I really need piping lessons. I struggled heaps. Piping is not my forte. I gave it my best shot then resorted to simply spreading the buttercream with a knife. It looked terrible but what can I say, I have my limitations.


I recommend you give Julia's recipe a go. Jam is not a conventional inclusion in melting moments, which makes hers somewhat like a monte carlo biscuit. Whatever they technically are (a melting monte carlo perhaps?), they are AMAZING.

Tuesday, October 25, 2011

Cheesy Corn and Bacon Muffins

No comments:
Cheesy Corn and Bacon Muffins
Home Cooking


I was doing my 'how do I use up as many existing pantry ingredients in one recipe' scan when I found a recipe for corn muffins in Woman's Weekly Bake. Ok, so it didn't encompass as much as I wanted but it was a good base. I took that recipe and beefed it up with extra meat, extra cheese and extra goodness.

How can a muffin with both bacon and ham possibly be bad?


These muffins were originally going to be a contribution to a party but there weren't enough for everyone to have at least one so I figured it was better etiquette to not bring any.

Sunday, June 19, 2011

Bill Granger's Ricotta Hotcakes

No comments:
Ricotta Hotcakes
Home Cooking


A strange feeling came over me last Friday and it lead to me making hotcakes. I remembered about ricotta in my fridge and I remembered Bill Granger's ricotta hotcakes. I actually ate them at his cafe in Sydney. They were delish but I never made them myself before.


A quick Googling unveiled the recipe, which seemed very straight forward. I didn't want to make the whole lot and use 4 eggs and in any case, I didn't have enough ricotta for that.

Wednesday, March 16, 2011

Classic Chicken Parmigiana

No comments:
Classic Chicken Parmigiana
Home Cooking


Growing up in a Chinese family, a lot of typical Australian dinner-time creations seem new and interesting to me. Yeh sure, I know what a chicken schnitzel is. And yes I know that a saucier version is called a chicken parmigiana. But the fact is, up until last week, I'd never tasted it before.


It's possible to have a craving for things you haven't eaten. When I think about crispy, crumbed chicken, molten cheese and tomatoey sauce, I know enough to know I want it. It can hardly be an unpleasant surprise.

Tuesday, February 22, 2011

Eggs for breakfast, lunch and tea

4 comments:
Eggstatic over eggs
Home Cooking


I won't deny it. I ran through all the to-be-expected (eggspected?) egg puns before finally settling on this one. Eggcellent. Eggciting. Eggs... okay I'll stop now.

Why am I jumping up and down over this humble and understated pantry basic? Because Byron has just opened my eyes to what an amazing food item it really is.


We've thrown away the idea that eggs are a 'breakfast item' and have indulged in amazing scrambled eggs and soft boiled eggs for dinner the past 2 nights. Not that I would say 'no' at breakfast time.

Wednesday, January 26, 2011

Rich Chocolate Brownies

7 comments:
Rich Chocolate Brownies
Home Cooking


We were planning to make a lemon meringue pie for Australia Day but... I forgot. I literally forgot that it was already decided upon and spent hours trawling through online recipe sites trying to find a good dessert.


What I ended up with was a recipe from Vogue Forums. The original thread was actually about Jamie Oliver's brownies (which I've made before) but someone posted up what they thought was the best they've tried. I read it and thought it sounded promising.