
Home Cooking
When it comes to baking, it's not hard to find a host of sweet recipes. I went through a few and got a bit overwhelmed by sweetness. There's only so much sugar I can handle! It was time to find something salty, and I don't just mean in the form of salted caramel or the likes.

I had zucchini in my fridge and a couple of carrots too. I hate eating carrots raw but I like them in baked products so I was glad when I found this recipe for zucchini and carrot slices. It sounded reasonably healthy too so I figured it would be a good idea for workday lunches.
I detect the act of grating so I thought I'd be smart and grate everything with my food processor. Because it's new, I'm not totally familiar with the settings. My zucchini and carrot got smushed to a pulp. I then realized I needed a coarser blade. The onion and cheese went through alright. Differing from the original recipe, I used 2 x zucchinis and 1 x carrot, only because that was what I had on hand. I think it may affect the moisture content of the slice. My slices still set though, once they'd cooled down. They kept their shape on reheating too. I also omitted garlic and used olive oil instead of rice bran oil.
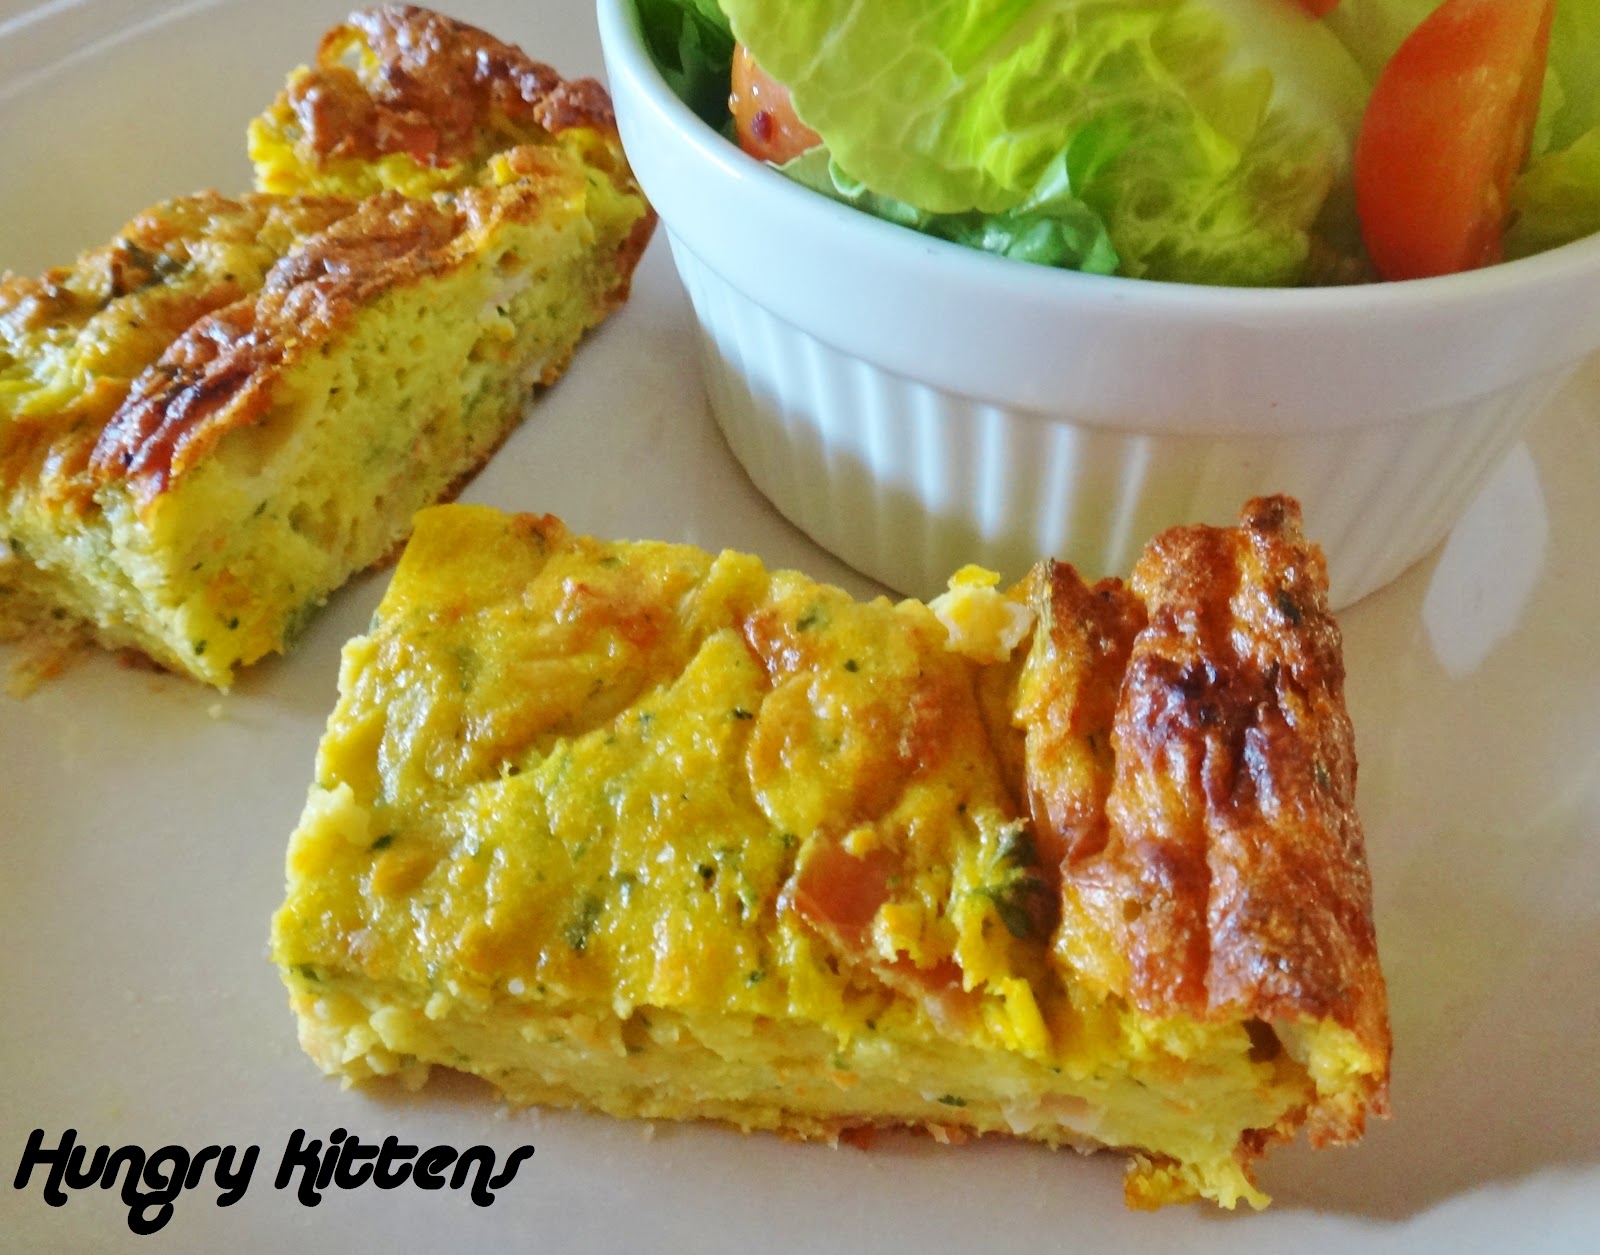
Zucchini and Carrot Slice
Makes 10; ~ 4-6 serves
Ingredients:
- 2 medium zucchinis, grated
- 1 medium carrot, peeled and grated
- 1 medium brown onion, finely chopped
- 100g sliced leg ham, finely chopped
- 1 cup grated cheese (I used vintage cheddar)
- 1 cup self-raising flour
- 1/4 cup chopped fresh parsley leaves
- salt and pepper
- 4 eggs, lightly beaten
- 1/4 cup milk
- 1/4 cup olive oil
1. Preheat the oven to 180 degrees Celsius. Grease a 18cm x 28cm (base) slice pan.
2. Combine the carrot, zucchini, onion, ham, cheese, flour and parsley in a large bowl. Season with salt and pepper.


I got impatient and tried to slice these while they were still warm. DON'T DO THAT. It will be a mess. They set upon cooling and are then a cinch to cut. Other than that hiccup, the recipe is so easy to follow. All the hard work is in the chopping and grating and as I said, I had my food processor for that.

These slices are so yummy. I like them best warmed up with Greek yoghurt (or the labneh I made) and/or tomato sauce. If you want to amp up the health factor I suppose you can serve it with some greens but realistically, there are lots of veggies in there (albeit accompanied with cheese and ham).

I found these to be such an easy lunch option. I froze a few and they reheated without any issues. I would suggest that you can play around with the types of vegetables used too. Omit the ham if you're after something vegetarian.
Hmm is anyone else experiencing problems with the images on this blog loading?
ReplyDeleteI'm trying to find out if its a problem on my end or if it's the blog.
Any feed-back would be greatly appreciated.
My blog post - Is it low T